
[ad_1]
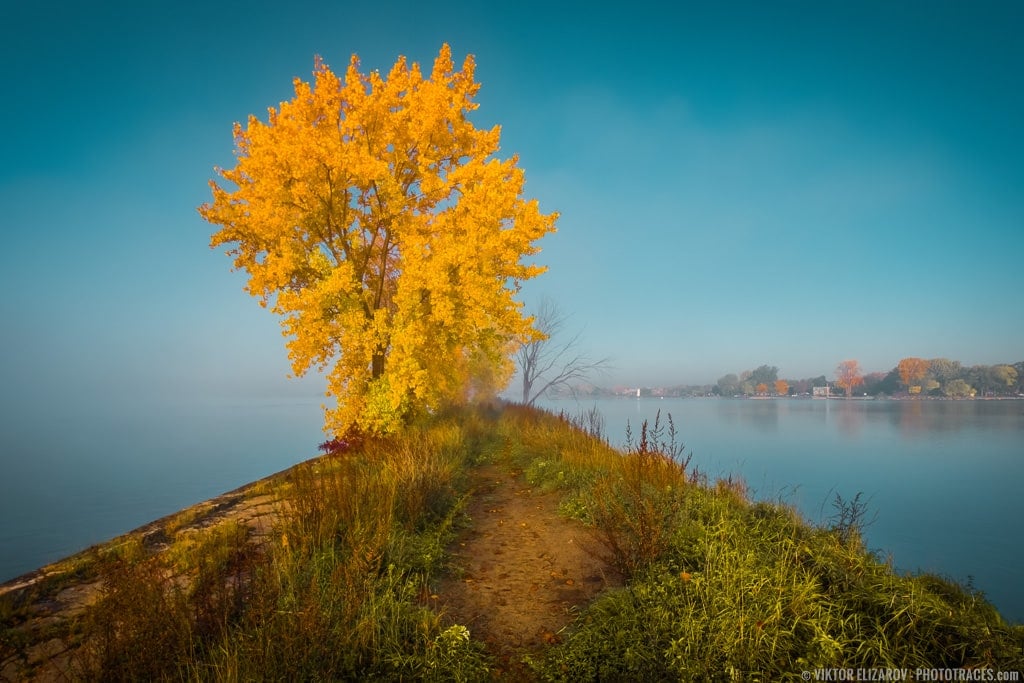
The featured photograph is my very first article highlighting the brand new season of colours right here in western Canada.
After shifting to Montreal years in the past, I quickly realized that foggy climate is uncommon within the metropolis. I suppose the principle motive for that’s the fixed presence of the island’s sturdy wind.
As the driving force, I admire the clear climate, however I miss the environment that fog brings to panorama pictures.
The day I took the featured photograph, I didn’t plan to go outdoors with the digital camera. I awoke earlier than the dawn, able to drive to the gymnasium. However once I noticed calm climate with the thick fog protecting the Saint Lawrence river, I grabbed the digital camera and ran to the river.
I spent not less than 3 hours taking the images till the morning solar burnt the fog away. I used to be rewarded with not less than a dozen thrilling foggy panorama pictures.
Capturing
After I began capturing early within the morning, it was fairly darkish, and I completely wanted a tripod.
On the time I took the featured photograph, it was already vibrant, and I might get away with capturing handheld. However for the reason that fog was disappearing very quick, I made a decision in opposition to losing any time and preserve capturing on a tripod.
I concentrated totally on discovering attention-grabbing composition to emphasise the distinction between foreground components and the sky and water’s blended areas.
Modifying & Processing
It was a single RAW processing workflow.
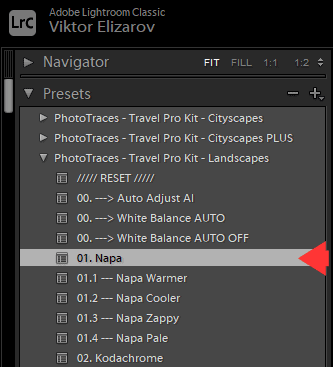
To course of the featured photograph, I used my model new Journey Professional Package workflow.
The Journey Professional Package is a group of Lightroom presets, profiles, and enhancing changes that can help you edit images quick with out touching this system’s enhancing instruments. In complete, the Journey Professional Package has 7 parts.
To study extra in regards to the Journey Professional Package’s parts, examine right here.
Lightroom (80%) – 10min
Step #1
As typical, I began the enhancing course of by addressing the composition. I used the Crop Overlay software to make composition tighter. I saved the unique facet ration of three:2.
I additionally used the Rework instruments within the Develop Module to repair the angle.

Step #2
Subsequent, I moved to my customary preset based mostly workflow by making use of the 01. Napa preset from the Journey Professional Package – Landscapes Assortment to the unique picture.
Step #3
Subsequent, I opened to the TOOLKIT and utilized the next changes:
09. Open Shadows +++
25. Saturation ++
45. Midtone Distinction ++++
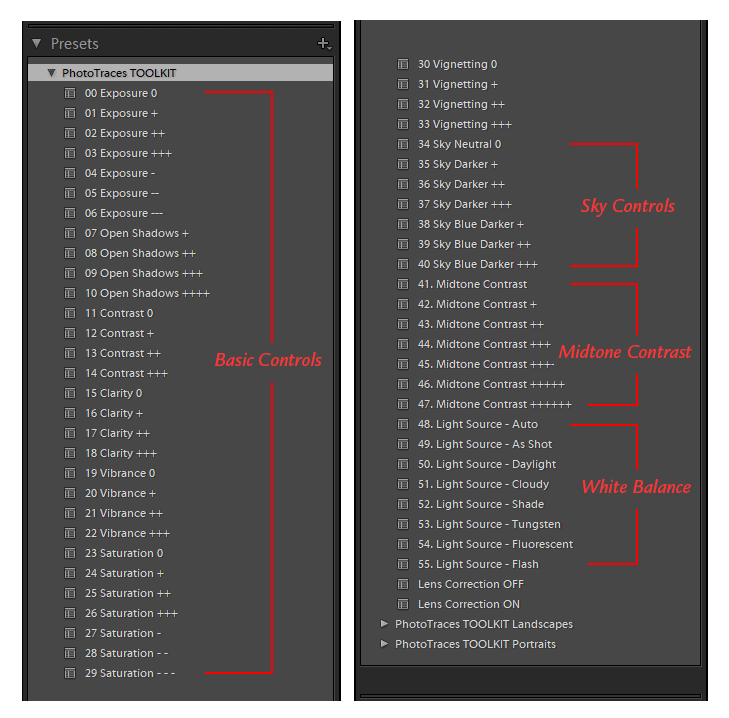
Beneath, you possibly can see the results of the enhancing changes.
The Modifying Method: Napa (9, 25, 45)
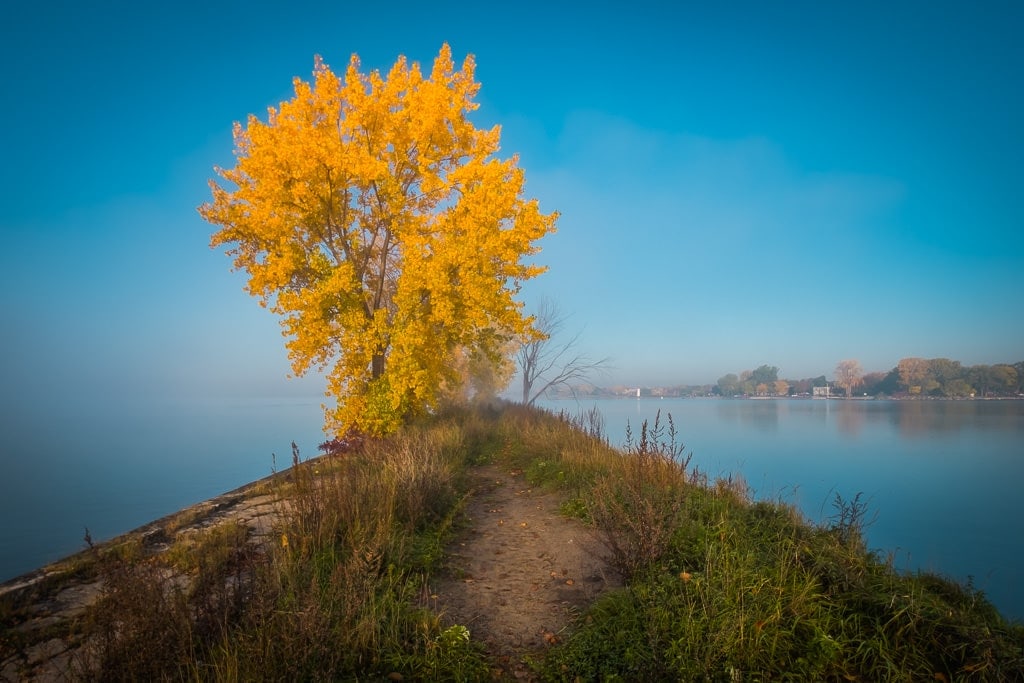
In idea, I might cease right here as a result of I preferred the outcome I managed to attain.
However, I made a decision to display how you need to use the most recent addition to my enhancing workflow, the TOOLKIT for Landscapes, to take inventive enhancing even additional.
Step #4

The usual TOOLKIT lets you apply a sequence of changes (i.e. Publicity, Saturation, Readability, Distinction, and many others.) to a complete picture. However the TOOLKIT for Landscapes provides you the power to focus on totally different areas of the panorama individually.
You possibly can selectively edit areas of the sky, vegetation, and floor.
In my case, I needed to scale back the saturation of the sly and to shift the colour hue from blue to aqua (cyan).
On the similar time, I needed to make the foreground brighter and to spice up its saturation.
The TOOLKIT for Landscapes was the proper software for such fine-tuning.
I utilized the next changes from TOOLKIT for Landscapes:
03. Sky Brightness – – –
15. Sky Saturation – – –
20. Sky Coloration Shift (Cyan) ++++
28. Crops Brightness +++
34. Crops Saturation ++
54. Orange/Pink Saturation +++
Photoshop (20%) – 2min
Step #5
In Photoshop, I used the Spot Removing software to wash up the picture by eradicating the particles from water and floor.
And at last, I used the Topz DeNoise plugin to scale back digital noise.
And that was it.
Earlier than & After Transformation

[ad_2]