
[ad_1]
If you wish to know methods to use Lightroom portrait enhancing to provide natural-looking portrait pictures very quickly, you’ve come to the appropriate place. As a result of in at this time’s tutorial I’ll show my Lightroom portrait enhancing workflow.
Retouching portraits is a crucial subdivision of photograph enhancing. Usually a fancy and time-consuming course of, it requires an intimate data of Photoshop with some distinctive strategies particular to the sphere.
However, you wouldn’t have to be intimidated by a scary phrase like “retouching” as a result of you possibly can beautify any portrait immediately in Lightroom with out utilizing Photoshop. In reality, I’ve been utilizing Lightroom in my portrait retouching workflow for all my journey portraits and household pictures.
Right here is a top level view of my folks enhancing workflow.
Lightroom Portrait Enhancing in 4 Steps
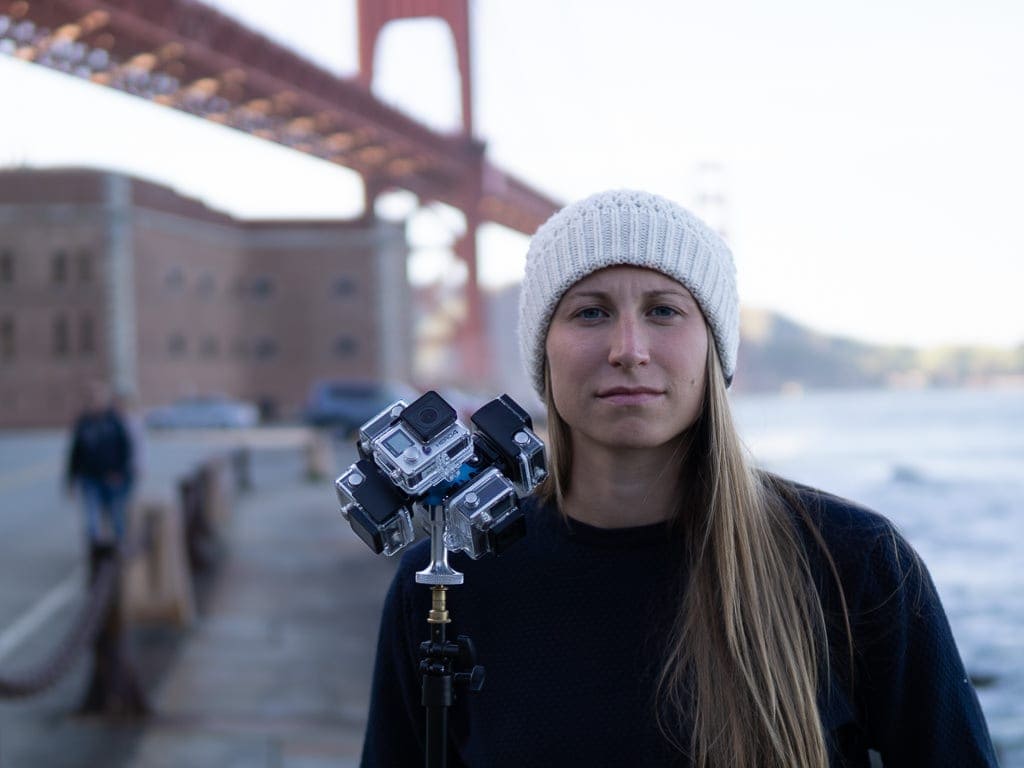
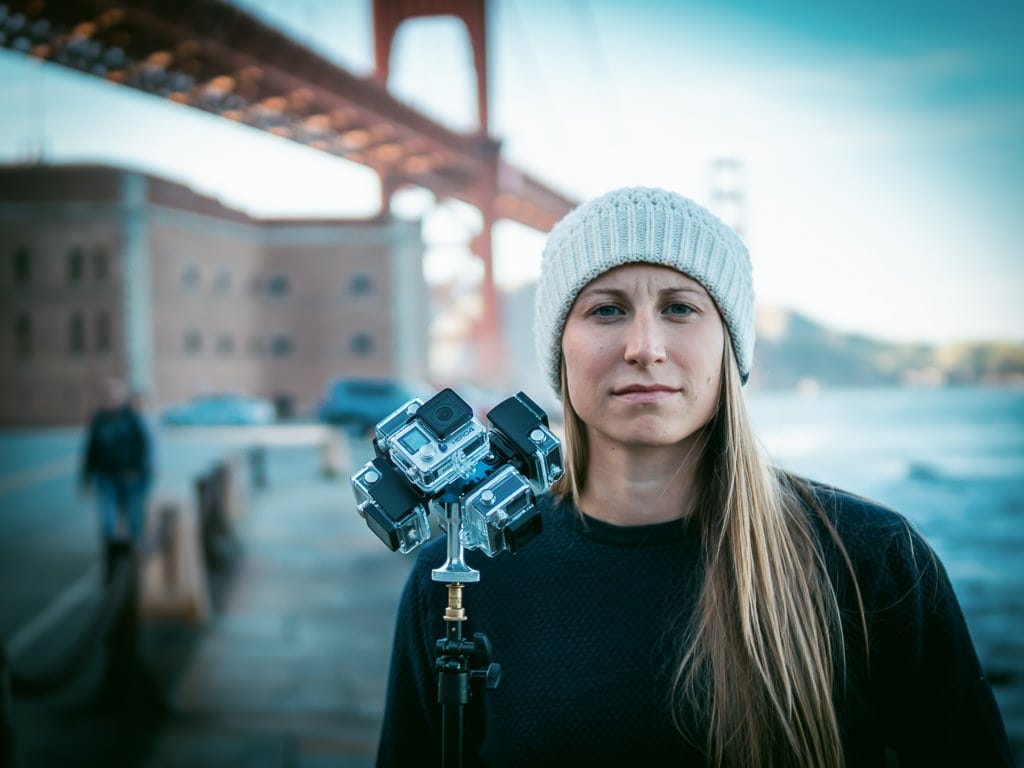
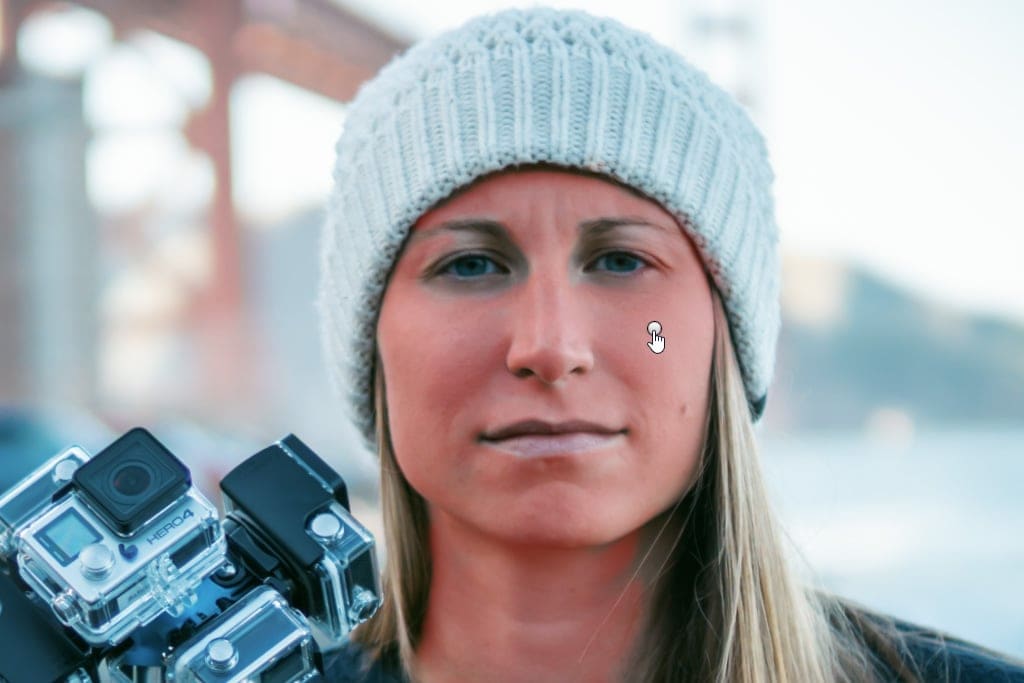
Right here is a photograph of my daughter. She is at present learning Digital Actuality at school in California and, once I visited, she wanted a headshot for her new Digital Actuality Journey Weblog.

We went to San Francisco to shoot 360 Movies and determined to take just a few footage on the similar time.
Once I composited this shot, I strategically positioned the Golden Gate Bridge within the background.
Associated: Saturation vs Vibrance
The primary difficulty with this shot is the distinction in illumination between the background and the foreground. Previous to retouching, my daughter’s face is underexposed with darkish shadows emphasizing varied pores and skin imperfections and casting darkish shadows below her eyes.
The purpose of enhancing is to brighten up the face and recuperate the shadows, repair any pores and skin imperfections and modify the pores and skin coloration. Lastly, we have to stability the lighting by making the background darker.
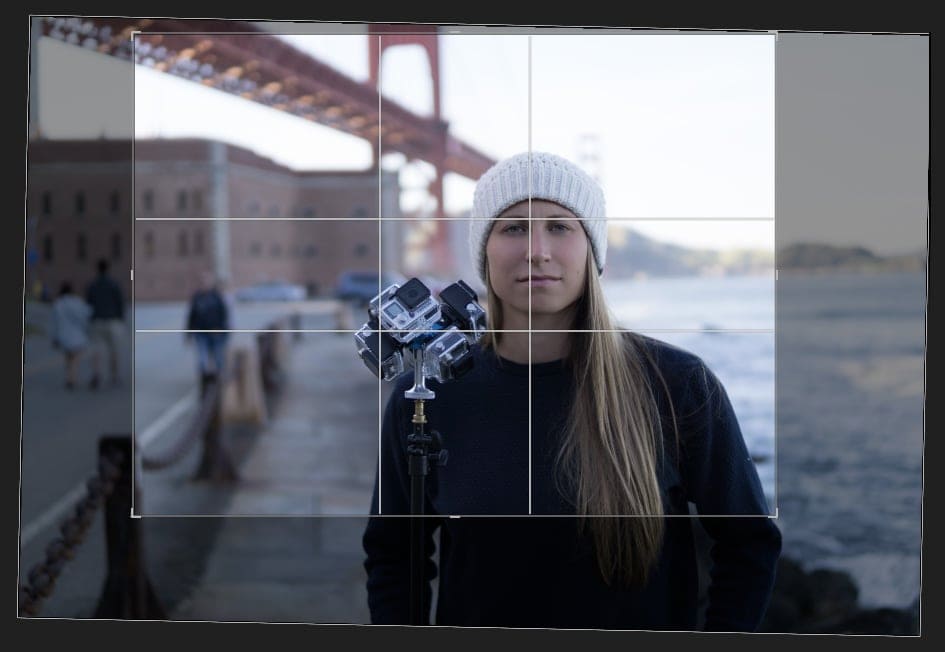
Step 1: Enhancing Composition
I all the time begin my enhancing in an try to enhance composition.
I used the Crop Overlay device to make composition tighter. And on the similar time, I modified the side ratio from the unique 3:2 to a extra vertical 4:3.
Step 2: Lightroom Speedy Enhancing for Portraits
That is normal Lightroom Speedy Enhancing, which I beforehand outlined in nice element and, due to this fact, won’t spend an excessive amount of time explaining right here.
First, I utilized the 02. Meadow preset from the Journey Professional Package preset assortment.
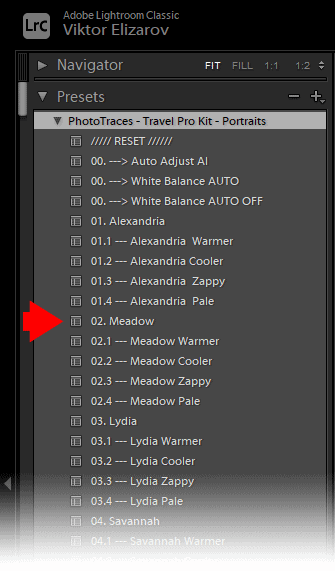
Subsequent, I jumped to the TOOLKIT and utilized the next changes:
- I introduced down the publicity to recuperate the small print within the background: 04. Publicity –
- I recovered the shadows by making use of the 8. Open Shadows ++ adjustment
- Lastly, I added stronger vignetting by utilizing the adjustment preset, 33. Vignetting +++.

The Enhancing Method for this shot is Meadow (4, 8, 33)
I used to be completed with the second step.
Step 3: Fixing Pores and skin Imperfections
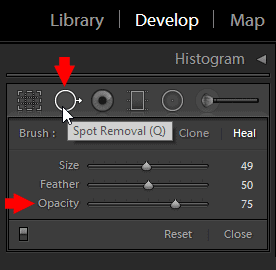
To wash up any pores and skin imperfections, I used the Spot Removing Software.
If you happen to recall, I demonstrated methods to clear up landscapes utilizing the Spot Removing Software in one in all my earlier tutorials. The method of cleansing up portraits is pretty related.
I chosen the Spot Removing Software and set the opacity to 75%.
Subsequent, I adjusted the comb measurement by utilizing the keyboard shortcuts [ and ]. Then, I began stamping over the imperfections.
It solely took me a few minutes and 20 to 30 stamps to wash up the face.

I then needed to cope with the darkish and unsightly shadows below my daughter’s eyes. Shadows are prompted when the pure mild supply (the solar) is just too excessive, which is a typical downside in practically each portrait that’s taken open air in brilliant situations.
Associated: My High Tip to Velocity up Lightroom Velocity
I used the Spot Removing device as soon as once more however, this time, I elevated the comb measurement and diminished the opacity to 50%. Then, I merely used the comb to color below the eyes.
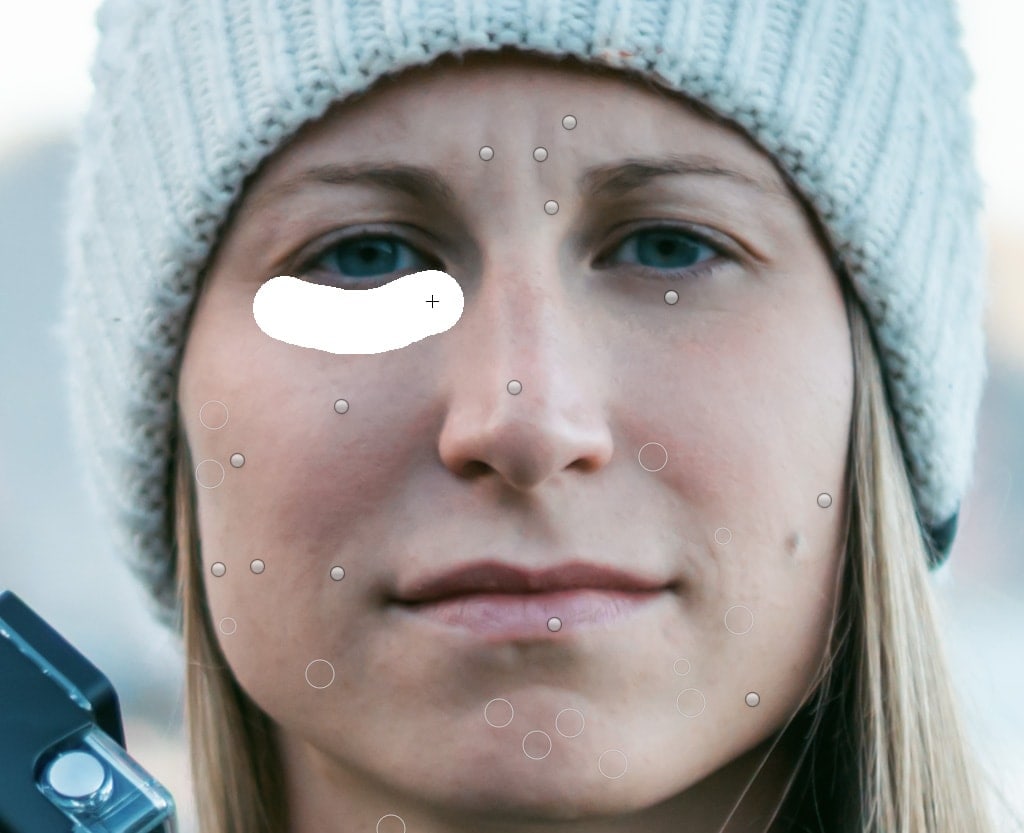
All I wanted was two strokes—one for every eye.
Lightroom did a tremendous job of sampling the pores and skin from the face after which masking the shadows.

This was the ultimate results of fixing pores and skin imperfections.
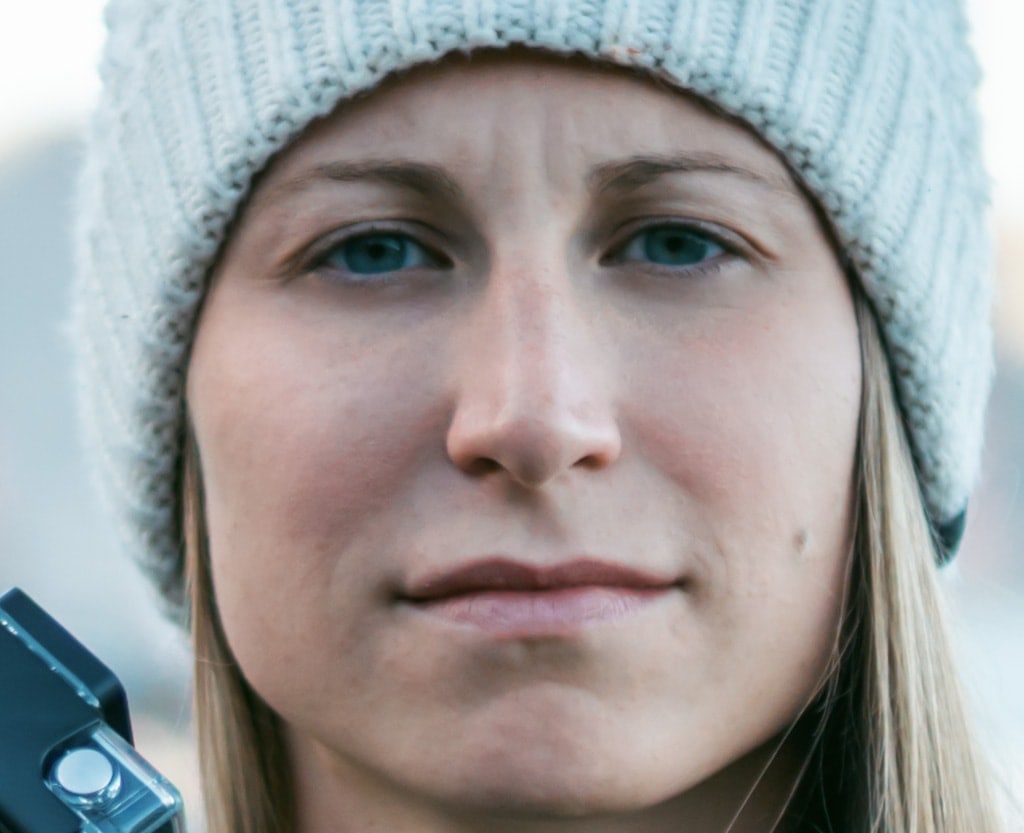
By protecting the opacity low (50%), I made certain that I preserved sufficient particulars to maintain the portrait pure.
And that is how the portrait taken care of step 3.

Step 4: Smoothing Pores and skin in Lightroom
Subsequent, I took care of typically smoothing out the pores and skin by utilizing the Adjustment Brush Software.
After activating the Brush Software, I chosen the Pores and skin Clean + possibility from the Impact menu.
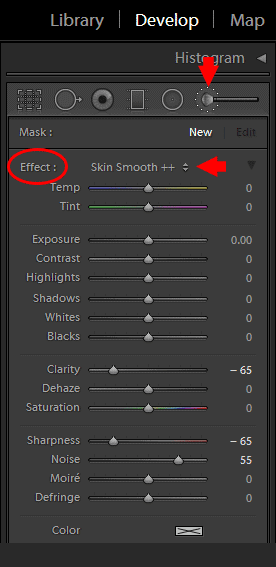
By urgent the “[“ and “]“ keyboard shortcuts, I elevated the dimensions of the comb and began portray over the pores and skin with lengthy strokes.

I used to be cautious to not paint over the eyes, lips, and nostrils, making certain that each one the small print remained intact.
By urgent the keyboard shortcut key “O“ you possibly can preview the areas affected by the comb device.
And that was it.


Under you possibly can see the Earlier than & After transformation.
In whole, It took me 10 minutes at most.
Don’t neglect to run the photograph by the Mushy Proofing module, if you’re planning to print it, to be sure to obtain correct colours.
Lightroom Portrait Enhancing | Conclusion
Lightroom is a strong portrait enhancing device that may show you how to create lovely, natural-looking portraits.
Articles Associated to “Lightroom Portrait Enhancing in 10 Minutes or Much less“
[ad_2]