
[ad_1]
In the event you’re trying to perceive the way to use Lightroom Vary Masks, then you definately’ve come to the fitting place.
When Adobe dropped a bombshell a few years in the past by killing a stand-alone Lightroom 6, renaming Lightroom CC to Lightroom Traditional and releasing a brand-new cloud base Lightroom CC, it evoked a really sturdy response from the pictures neighborhood. The response was raging from the anger to confusion and doubt.
The occasional Lightroom customers have been offended as a result of they didn’t see the necessity for the Artistic Cloud subscription as a result of they used Lightroom just a few instances a yr solely and by no means opened Photoshop of their lives.
The learners have been utterly confused as a result of that they had no thought what model of Lightroom they wanted.
Associated: Free Lightroom Tutorials for Freshmen
The skilled photographers began to have doubts about the way forward for Lightroom Traditional, the first instrument to run their companies.
Behind this commotion and confusion, the announcement of a brand new characteristic in Lightroom Traditional was virtually missed.
Introduction of the Lightroom Vary Masks
With the discharge of Lightroom Traditional Adobe, apart from addressing the efficiency concern of this system, launched a brand new characteristic: the Vary Masks.
I used to be the happiest particular person once I heard in regards to the characteristic as a result of I’ve been ready for one thing like this for years.
Let me clarify.
I think about the HSL panel to be one of the beneficial instruments for my pictures. The instrument permits me to focus on particular colours in my pictures.
For instance, if I wish to alter the sky space of the picture I solely goal blue hues within the HSL panel. I can sift the colour to a different hue, I can enhance its saturation or make it darker. The identical logic applies once I want to focus on vegetation in my landscapes. I alter inexperienced hues in HSL panel solely.

What I used to be lacking the power to make use of HSL performance when utilizing the Graduate Filter, the Adjustment Brash, and the Radial Filter. By some means it felt if Adobe merely forgot so as to add HSL panel to these instruments.
With each new replace I anticipated for this characteristic to be added but it surely by no means occurred.
Lastly, Adobe introduced one thing completely different, the Vary Masks. What’s much more thrilling is that that Adobe created one thing extra modern and highly effective than easy HSL panel.
The Vary Masks permits us to create subtle masks based mostly not solely on colour however luminosity as properly.
I like it.
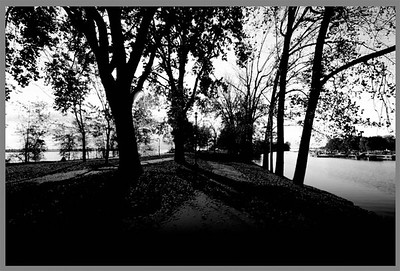
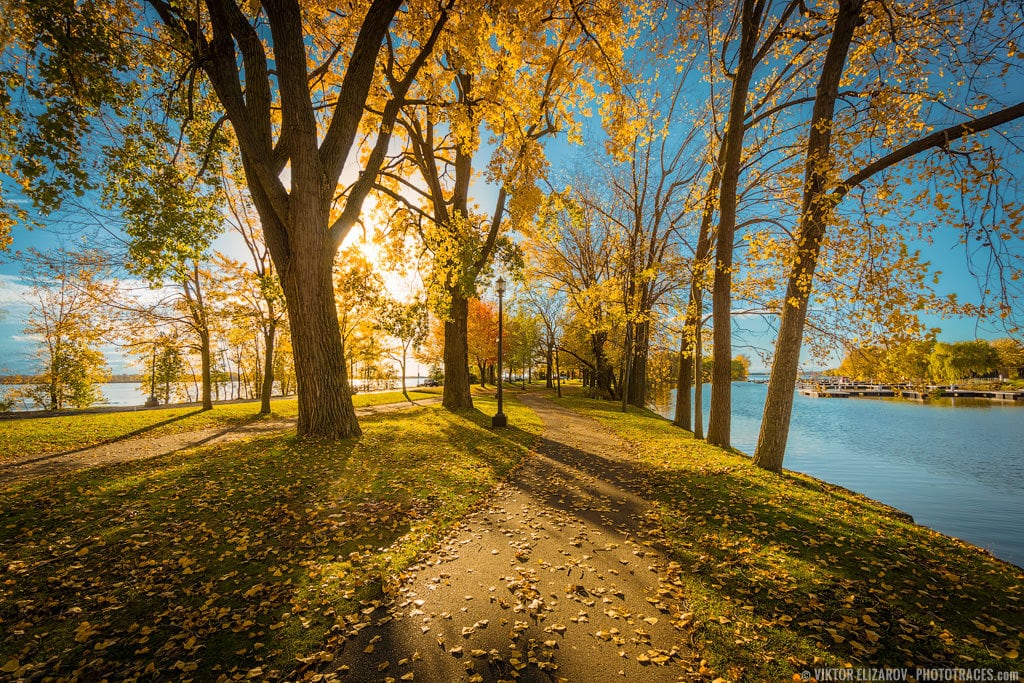
To raised clarify the facility of Vary Masks I ready for you an illustration. I went to the park on a sunny day with the objective to provide the fitting picture for this tutorial.
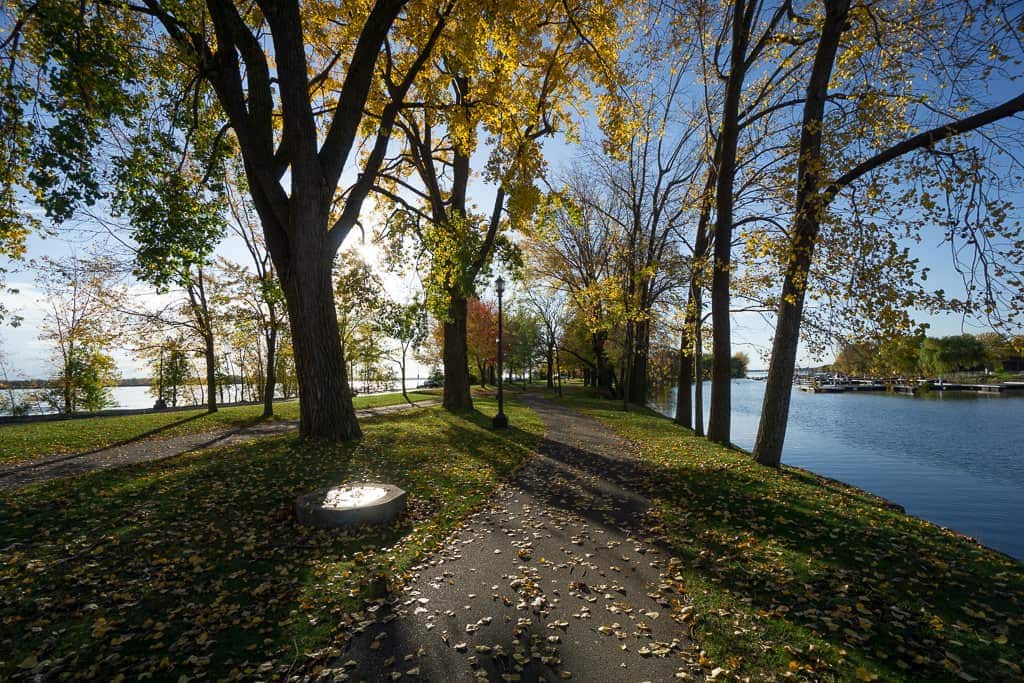
I deliberately was capturing immediately into the solar via the bushes to ensure I can reap the benefits of the advanced masking talents of the Vary Masks.
See additionally: The way to Batch Edit in Lightroom
I believed the chosen picture could be an ideal demo materials.
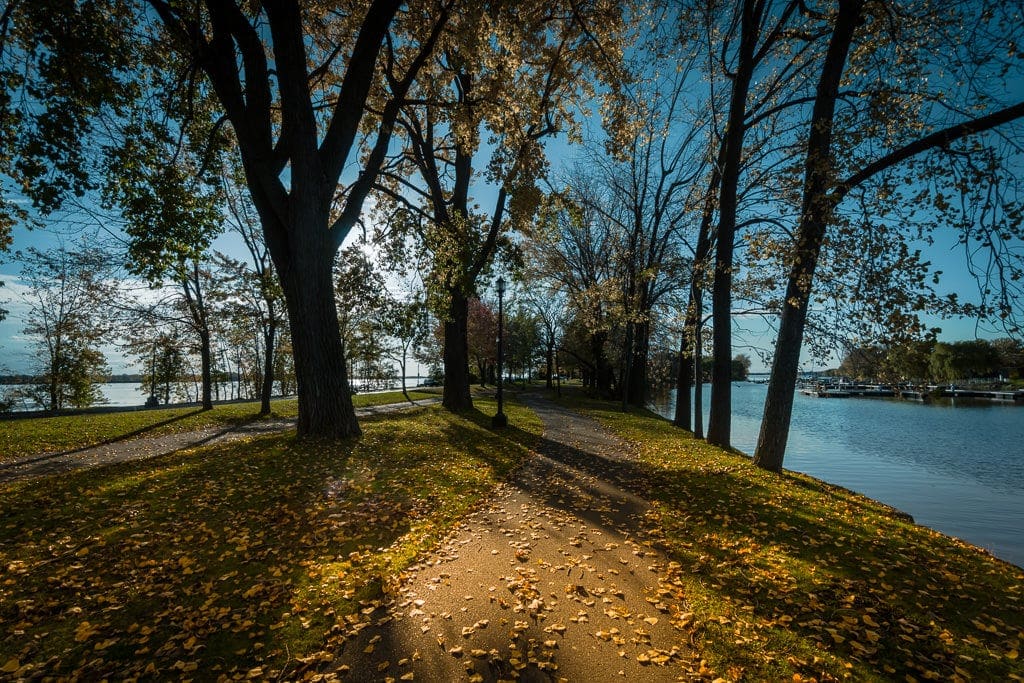
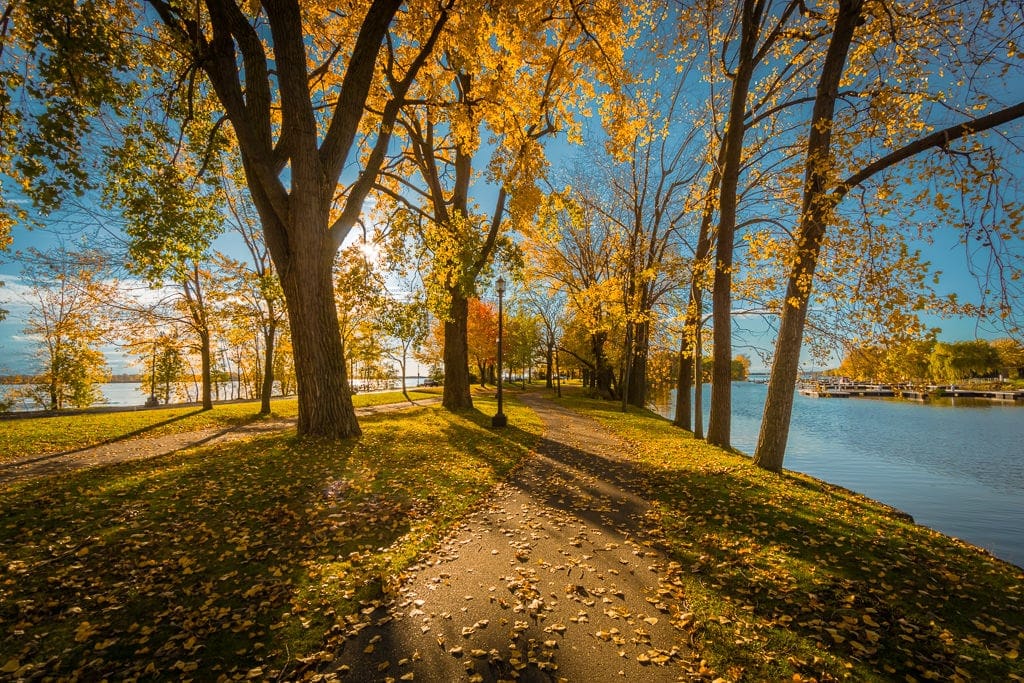
Modifying Step 1
I begin the enhancing with my commonplace Lightroom Speedy Modifying strategy. First, I take advantage of the Autumn preset from Fall Colours Assortment, and later, I take advantage of TOOLKIT to open up the shadows and to spice up the distinction.
The Lightroom Modifying Formulation: Autumn (9, 17, 32)
I additionally masked the manhole cowl utilizing the Spot Elimination instrument.
The autumn season presents a mess of alternatives for capturing gorgeous foliage pictures. By following these 12 concepts and suggestions, you possibly can improve your pictures abilities and seize the great thing about autumn in all its glory.
At this level, it took me, 2 min at most.

Modifying Step 2
Subsequent, I wish to increase the blue colour within the space of the sky.
Earlier than the Vary Masks performance was launched, the one method I might have an effect on the realm of the sky was the HSL panel. However the latitude at which I can alter the blues may be very restricted.
I can increase the blues on the low diploma solely as a result of once I make the sky darker, the white fringing is beginning to seem between the sky and the tree leaves. Because the HSL panel doesn’t have feather performance, I can’t create a seamless transition there.
The second concern with HSL panel is I solely can successfully goal high space of the sky and since there may be not sufficient colour info nearer to the horizontal space I’m out of luck.
Associated: Finest Lightroom Export Settings
The one method for me to focus on sky space with the precision was to leap to Photoshop and create luminosity masks for the realm of the sky. It means leaving nondestructive RAW enhancing setting.
With the brand new Vary Masks, it may be performed in Lightroom simply.
First, I create new the Graduated Filter and with the next settings:
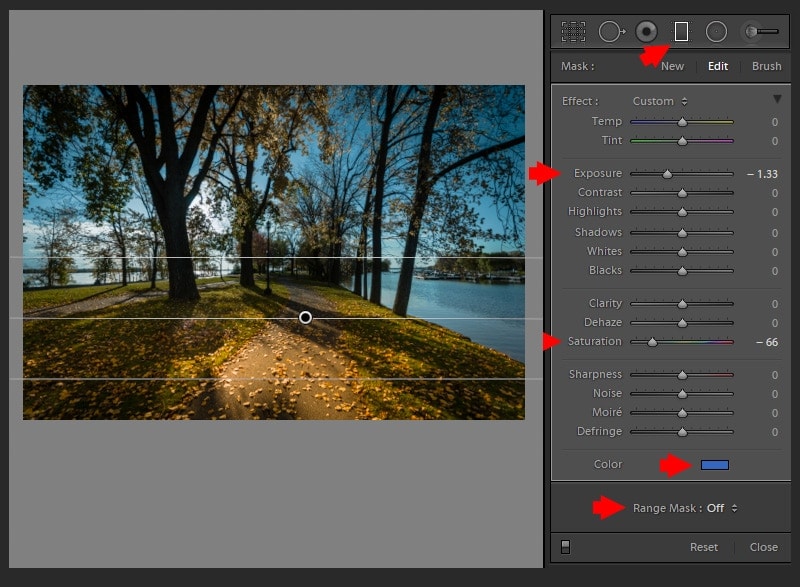
The filter impact is utilized to the whole picture, and it appears terrible.
Subsequent, I activate the Vary Masks by deciding on the Coloration choice.
Now, I take advantage of Coloration Picker to pattern colour from completely different areas of the sky, ensuring to pick out the whole vary of blue colour. Use Shift keyboard key to pick out a number of factors.
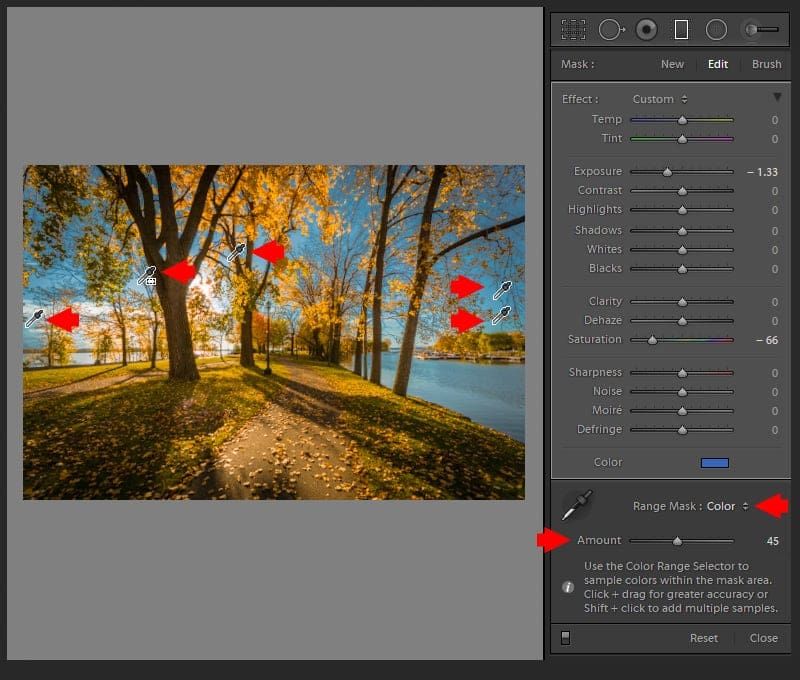
The Quantity slider permits us to regulate the mixing with the extra precision.
In the event you press the Alt key and drag the slider, you possibly can see the precise masks the instrument created and the realm of the picture the Graduated Filter is affecting.
Reminder: white space of the masks REVEALs and black space CONCELs.
Modifying Step 3
Within the following step I wish to emphasize the realm of the solar as a result of once I utilized the Graduate Filter, the yellow and orange highlights have been neutralized.
I’m going use the Radial Filter with the next settings. It appears significantly better.
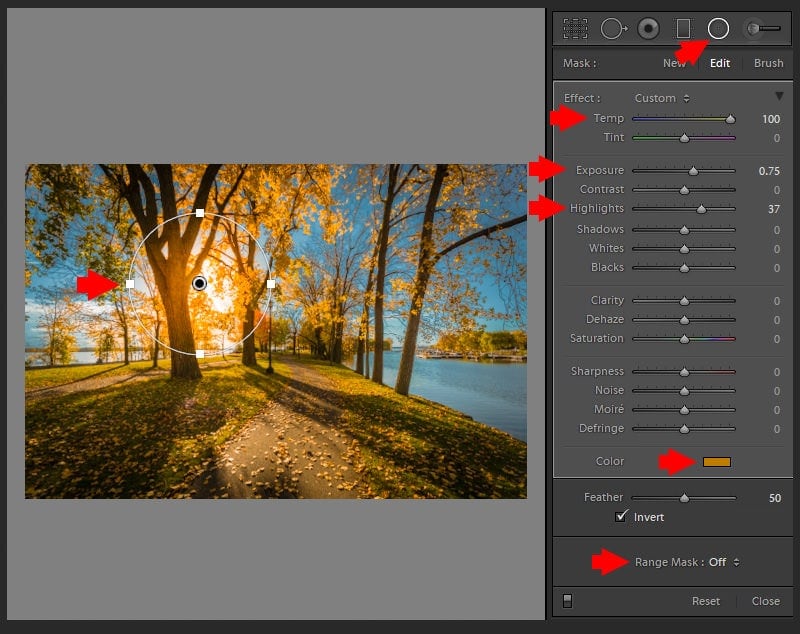
However I’ve an issue right here. The impact of the filter impacts the bushes as properly making the whole scene unrealistic as a result of the bushes are speculated to be within the shadows.
I can repair it with ease utilizing the Vary Masks.
This time I’m going to make use of the Luminance choice to activate it.
Associated: My High 15 Lightroom Workflow Ideas
The Luminance choices look completely different in comparison with Coloration. Right here I have to specify the tonal vary I wish to have an effect on. Since I wish to have an effect on solely the brilliant areas and go away darkish areas unaffected, I transfer left slider, which corresponds to darker tones, to the fitting.

You should use Smoothness Slider to regulate the mixing stage.

As soon as once more, for those who press the ALT key and begin shifting the Smoothness slider, you possibly can see the precise masks the instrument created.
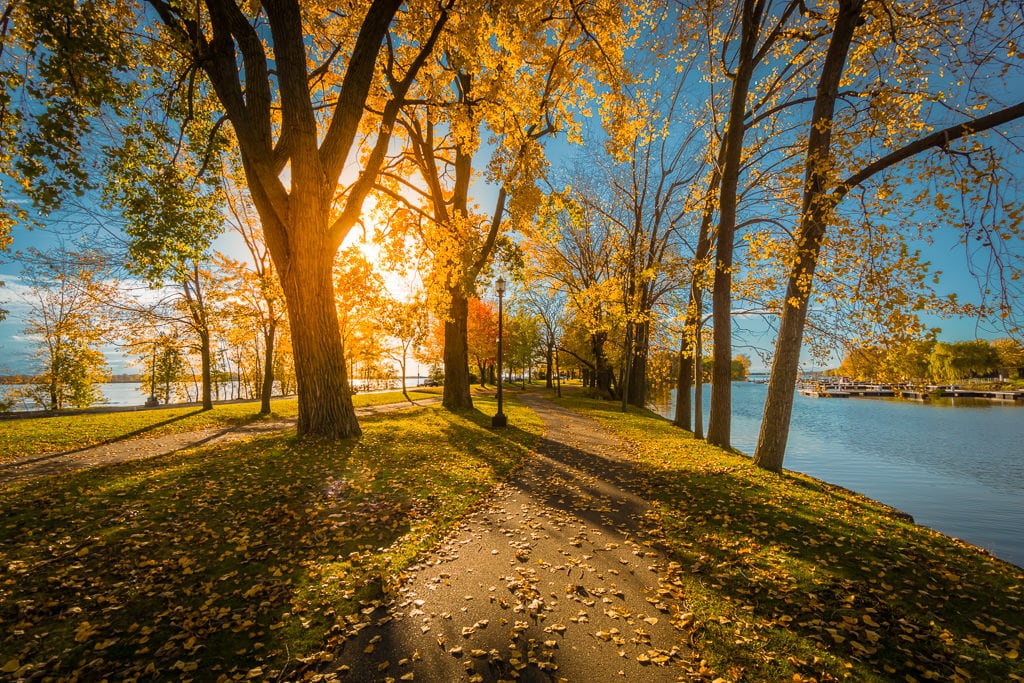
Earlier than & After Transformation
Conclusion
The Vary Masks performance in Lightroom is one other step that enhances selective enhancing functionality of this system. It helps us to create subtle masking that additional and additional blurs the distinction between Lightroom and Photoshop, permitting photographers to remain longer in a nondestructive RAW enhancing setting.
Articles Associated to “Lightroom Vary Masks: Superior Luminosity and Coloration Masking in Lightroom“
[ad_2]